
Overview
Goal: To Automate the process of Re-running A Failed Automated Test With Jenkins
Jenkins Plugin You’ll Need: https://plugins.jenkins.io/conditional-buildstep
Objective: configure a Jenkins automated test execution job so that if the test fails first time round, Jenkins automatically re-runs the test in an attempt to get the test to pass the second time round. Implement this as a work around to rerun unstable or unreliable automated tests.
Right up front let’s just say I’m not a fan of unstable automated tests. That is if you have an automation run and sometimes it fails for reasons other than the application under test having an issue, then the issue is with the way you’re testing the thing.
The integrity of your automation solution and the confidence it instills in your project team comes down to the results being being reliable. A test that intermittently fails for reasons that you don’t understand isn’t a good test. It’s something you need debug and fix.
The temptation just to run your automated test again and see if it passes should be resisted as far as possible. You may have failures because the environment is unstable, you have timing issues, race conditions are presenting themselves or any other host of other issues. Any issue not related to the application is something you need to fix in your automation.
Dedication and perseverance to making your automation runs as reliable as humanly possible is worth every minute you spend refactoring, fixing and tweaking.
Having said that… just sometimes, every now and again, in the odd outlying cases there’s just nothing you can do to get that desired level of reliability. You just have to fall back on that “I’ll have to run it again and see if it passed the 2nd time round” approach. Not nice! But necessary sometimes.
If you have your automation runs under the control of Jenkins (if you haven’t YOU SHOULD) then there’s a neat little way you can get Jenins to re-run an automated test for you automatically.

What is Jenkins and How to Install Jenkins
Checking Test System Environment Before Starting Your Tests
Test Automation Execution based on App Version Updates
Re-running A Failed Automated Test Automatically With Jenkins
Running Data Driven Tests with the Matrix Project Plugin
What We’re Aiming for
What we want to be able to do then is this…
- run a test
- check the status of the test result
- if the test result is a pass then end the run
- if the test results is a fail then try and run again
How we achieve this is by monitoring the Jenkins job console output using the ‘Conditional Buildstep‘ plugin for Jenkins. The plugin allows you to configure a job so that you search for a text string in the console log and if you pick up a string that indicates a failure then you run a conditional build step. That conditional build step is configured to run the test a 2nd time. If it runs and passes on the 2nd attempt then the overall build status is set to pass and you ignore the results from the 1st attempt.
You could go as far as having configuring the job to have a 3rd attempt at running the test. You need to be honest though. If you’re having 3 or even 4 attempts at running the test then you probably have an issue with your test that shouldn’t be painted over just by running it lots of times until it passes.
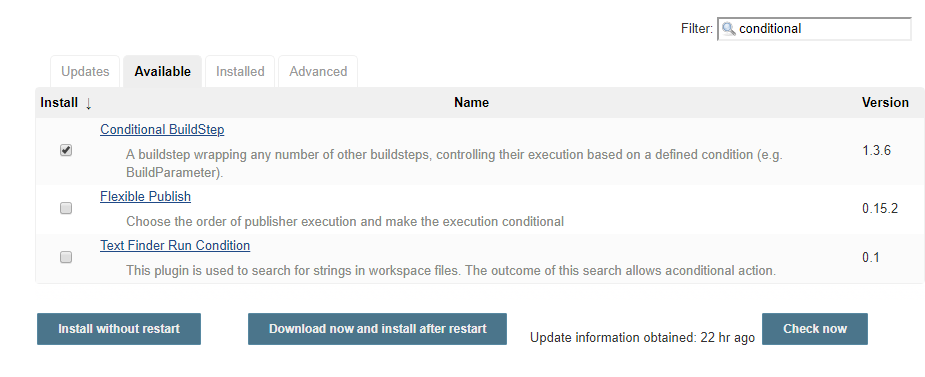
All of this depends on the Conditional Build Step plugin. First we need to install this plugin. From your Jenkins Manage Plugins page find the ‘Conditional Build Step’ plugin along with any dependencies:
Or you can download the latest .hpi file using the link below and install it manually in your instance of Jenkins
https://updates.jenkins-ci.org/download/plugins/conditional-buildstep/
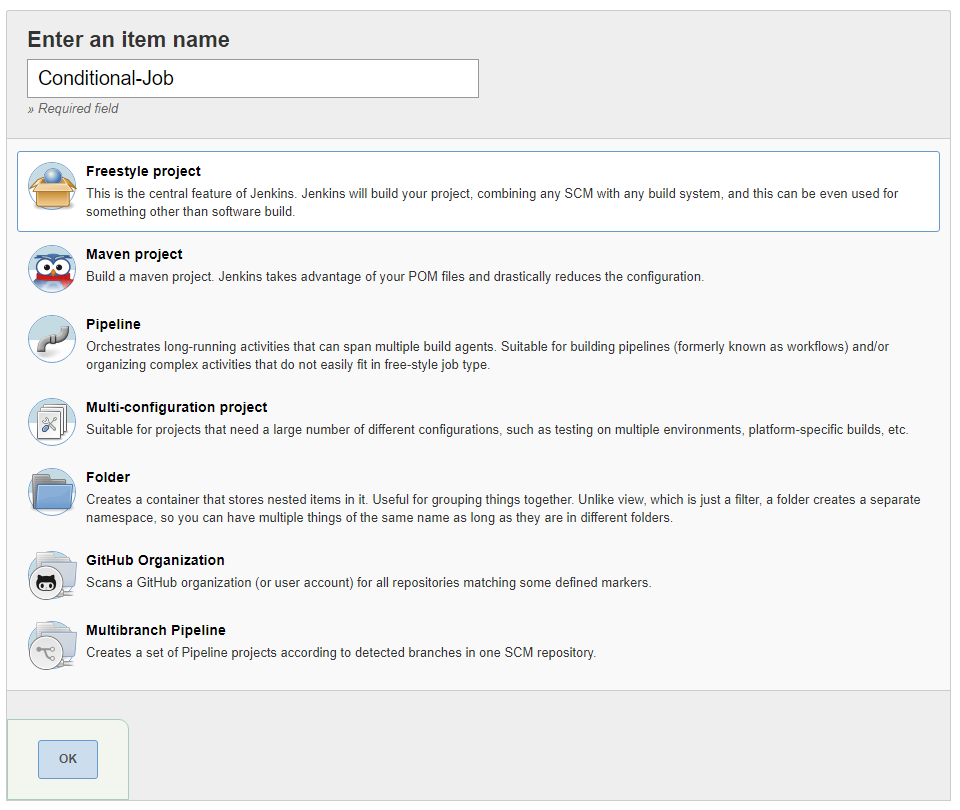
First we need to create a new Job in Jenkins. We can do this by clicking on the ‘New Item’ link in Jenkins. Enter the name for the job and create a ‘Freestyle Project’.
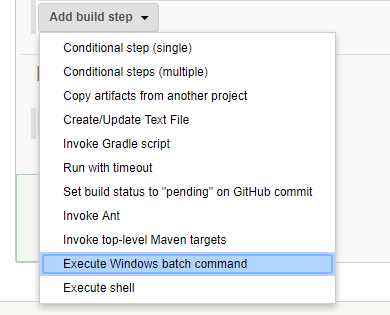
We can skip most of the settings for this example and go straight to adding a build step. In the ‘Build’ section, click the ‘Add build step’ button and then select ‘Execute Windows batch command’.
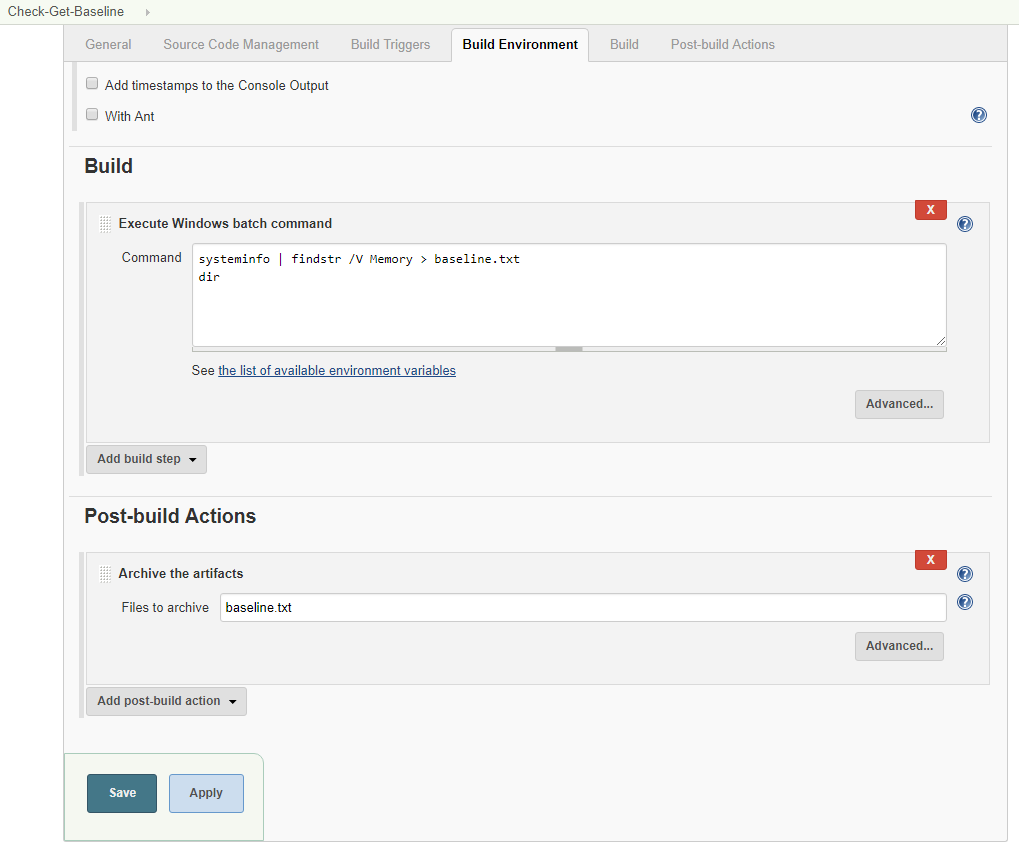
In order to demonstrate this plugin we need to create a build job in Jenkins that simulates a test running and failing. We’ll do this with a Windows batch script that just generates either the text PASS or FAIL randomly.
@echo off
:pick
set /a num=%random% %%2 +1
if /i %num% GTR 2 goto pick
if /i %num% LSS 1 goto pick
goto name
:name
cls
if %num% == 1 set name=PASS
if %num% == 2 set name=FAIL
goto finish
:finish
echo %name%
We’ll enter this as the contents of the build step in our Jenkins job.
This build step will be the equivalent of the step that runs your automated test. You could be running with Selenium, LeapWork or any other test automation tool. Either way the output from the automated test will be either the string PASS or FAIL.
You can check this works by ‘Saving’ the job and quickly running (building) it. Once you’ve saved it just click the ‘Build Now’ button
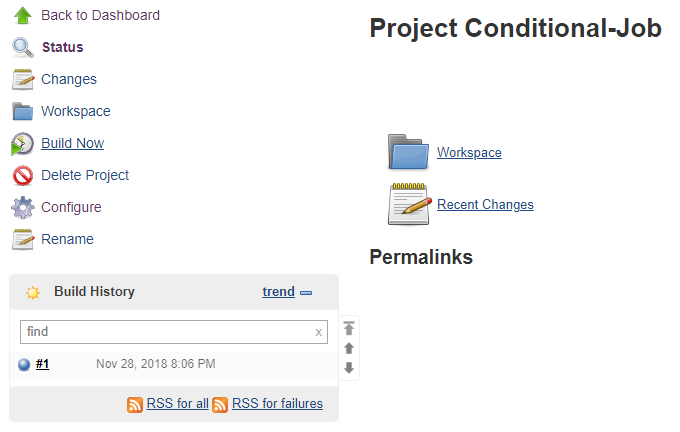
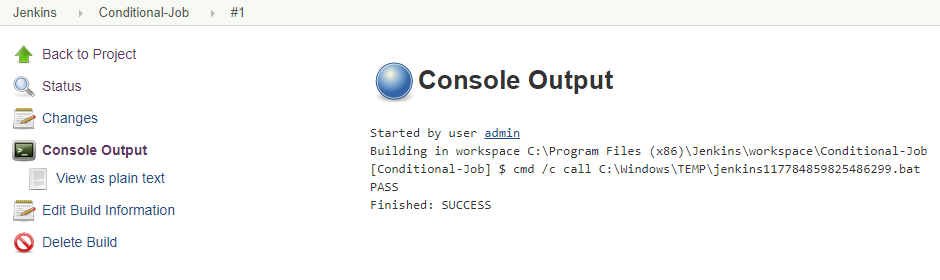
Then once the build/job has completed running you can check the console output.
And in the console output you should see the text result, either PASS or FAIL. Run the job a few times and check that the output is a randomly generated FAIL or PASS results. Something like this…
Started by user unknown or anonymous
Building on master in workspace C:Program Files (x86)JenkinsworkspaceAutomationTest
[AutomationTest] $ cmd /c call C:WINDOWSTEMPjenkins1989861174136467705.bat
PASS
Finished: SUCCESS
Now we have our simulated automated test that generates either a PASS or FAIL results. If the output from the test is PASS we just want to end the test run (or rather the Jenkins build job). If the output from the test is FAIL then we want to re-run the test and see if it passes the 2nd time it is executed.
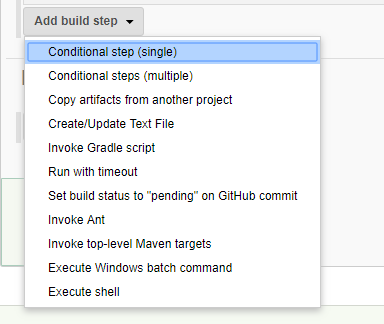
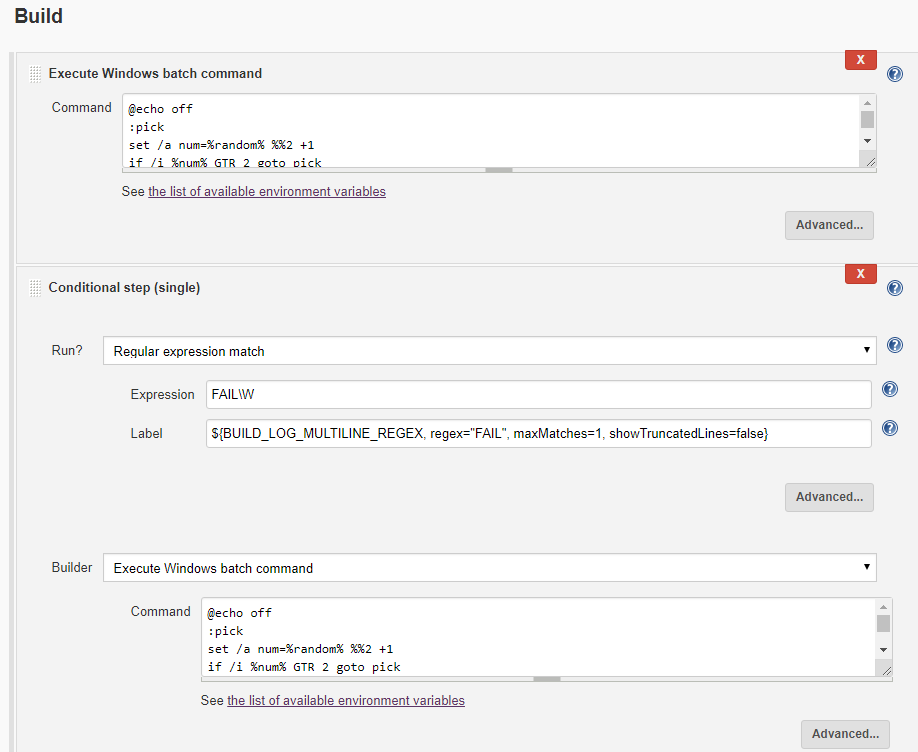
Next then we need to configure the part of the job that will detect either the PASS or the FAIL. This we do with the “Conditional Step” step. Configure the build job again.
Then you’ll need to find the ‘Build’ section, click the ‘Add build step’ drop down and select ‘Conditional step (single)’
From here we have a couple options to select from. First is the ‘Run?‘ (or ‘Run what?’) option. From this drop down we should select the ‘Regular Expression match‘ option.
What the ‘Regular Expression match’ allows us to do is define an expression (regular express) to look for and where to look for that expression.
It’s obvious that our regular expression goes in the ‘Expression’ text box. In here we put a regular expression that looks for the text ‘FAIL’. The can be done with something like…
FAILW
Note that we put ‘W’ (with a ‘backslash in front of the W) at the end of the FAIL string to match any non-word character. Trust me the way Jenkins generates the console text output you just need to qualify the text string in the console with the ‘W’ to get it to match.
Next, and the bit that’s not so obvious, is the ‘Label’ field. The Label field in this instance can contain a Jenkins Token. A certain Jenkins token get expanded at run time to some textual value. In our case we want to use the BUILD_LOG token. This expands to the textual value of the log (the Console log). More specifically we want to use this token
${BUILD_LOG_MULTILINE_REGEX, regex=”FAIL”, maxMatches=1, showTruncatedLines=false}
This expands the Build Log and allows us to pre-process that build log text with another regular expression. That is we apply a regular express as part of the token and THEN we apply the main expression (e.g. the ‘FAIL’ expression). The reason we do this is because if we just take the full contents of the build log we could potentially end up with quite a lot of text. So we pre-filter this text first by using the BUILD_LOG_MULTILINE_REGEX token.
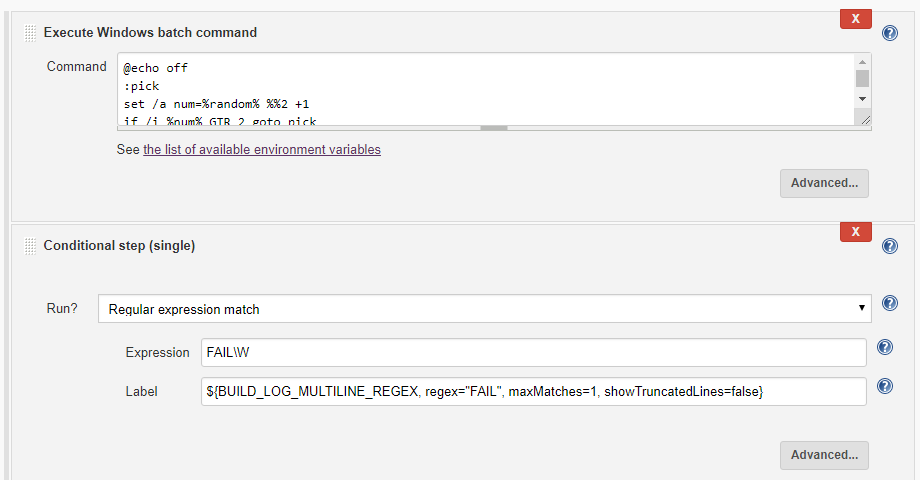
As part of this token we can also set the max number of matches (e.g. 1) and make sure we don’t show truncated lines from the match. You can experiment with these settings depending on your own test setup and circumstances.
You’ll find more on Jenkins tokens (and whats going on with this pre-filter expression) here if you’re interested: https://wiki.jenkins.io/display/JENKINS/Token+Macro+Plugin
Once we’ve set those two fields we’ll have something like this…
All we need to do now is decide what to do if we meet this FAIL condition. Well in our case we want to re-run the test and see if it passes 2nd time round. So in the ‘Builder’ section of the build step we just repeat the command that runs the automated test. In our case the batch file contents:
@echo off
:pick
set /a num=%random% %%2 +1
if /i %num% GTR 2 goto pick
if /i %num% LSS 1 goto pick
goto name
:name
cls
if %num% == 1 set name=PASS
if %num% == 2 set name=FAIL
goto finish
:finish
echo %name%
Now all we need to do is Save the job and run it.
Or rather save the job and build it. Then once the build/job has completed running you can check the console output, and in the console output you should see the text result, either PASS or FAIL.
In the console output if your initial attempt at running the automated test passes then you’ll see something like this:
Started by user unknown or anonymous
Building on master in workspace C:Program Files (x86)JenkinsworkspaceAutomationTest
Run condition [Regular expression match] enabling prebuild for step [Execute Windows batch command]
[AutomationTest] $ cmd /c call C:WINDOWSTEMPjenkins1609290691870737038.bat
PASS
Regular expression run condition: Expression=[FAILW], Label=[]
Run condition [Regular expression match] preventing perform for step [Execute Windows batch command]
Finished: SUCCESS
So no attempt at re-running the test because if Passed first time round.
However, if the build/run fails you should see something to the console output below. Do note though that you’ll have to run the job a few times (may be 10 or 20 times) to create a condition where the test FAILS first time round then PASSES the second time round (we’ve put this random test result generator in our script to simulate something a little more real) …
Started by user unknown or anonymous
Building on master in workspace C:Program Files (x86)JenkinsworkspaceAutomationTest
Run condition [Regular expression match] enabling prebuild for step [Execute Windows batch command]
[AutomationTest] $ cmd /c call C:WINDOWSTEMPjenkins3410549428875550852.bat
FAIL
Regular expression run condition: Expression=[FAILW], Label=[FAIL
]
Run condition [Regular expression match] enabling perform for step [Execute Windows batch command]
[AutomationTest] $ cmd /c call C:WINDOWSTEMPjenkins8834083469471710231.bat
PASS
Finished: SUCCESS
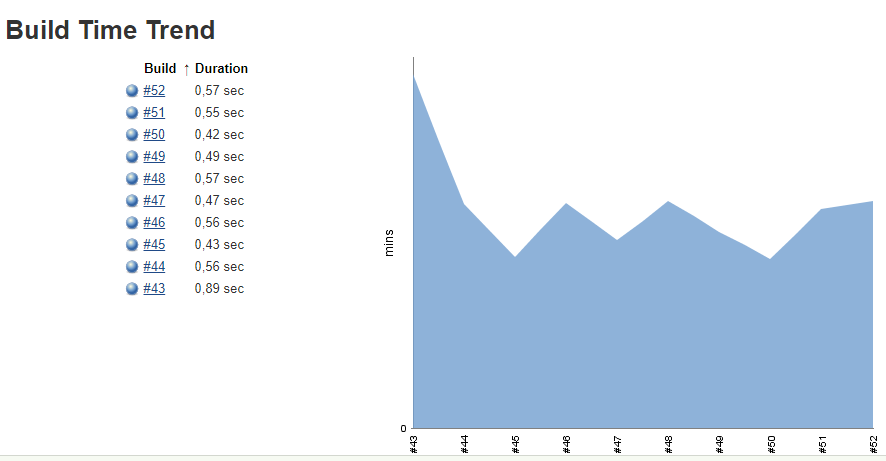
And in this example you can that the test FAILED the first time round. In real time this regular expression match was run against the contents of this console text output. The match for the string “FAIL” was successful so the 2nd Windows Batch command was run. That 2nd Windows batch command was to re-run our tests a 2nd time. This time it PASSES and the Jenkins build result is set to SUCCESS. You can see build time trend pressing “trend” on build history widget
And with this we have a Jenkins build/test job that will re-run a failed test and attempt to see if it passes the 2nd time round. If it fails the 2nd time round then the build job is still marked as FAILED. We’ve given it a 2nd chance though, and that’s what we set out to achieve.