
Overview
Goal: To trigger our automated tests to run when they detect the version of the application under test incrementing.
Jenkins Plugins You’ll Need:
Objective: configure a Jenkins job that will check the version of a web application on a regular basis and if the version has incremented since the last poll kick off our automated tests.
In some environments you might have access to build jobs and/or source code repositories that indicate if an applications source code, release or deployment has been completed. In other environments you may be opperating your automation system in isolation. If this is the case it may be that the only indication that a new version of the application has been release is by accessing the application or web site itself. In accessing that application you can scrape the version number and work out if the version has been updated since the last time you checked.
If your Jenkins job detects an update in the application version then we want to kick off our suite of automated tests and report the test results. If the application version has not changed since the last test run then we don’t run the tests.

What is Jenkins and How to Install Jenkins
Checking Test System Environment Before Starting Your Tests
Test Automation Execution based on App Version Updates
Re-running A Failed Automated Test Automatically With Jenkins
Running Data Driven Tests with the Matrix Project Plugin
What We’re Aiming For
The steps we’re looking to take here include:
- run a job by schedule
- check the status of application under test (e.g. if version number was incremented since last test run)
- if the check result is a false (version did not changed) then end the run with fail result
- if the check results is a true (new version of AUT was deployed) then end the run with pass result
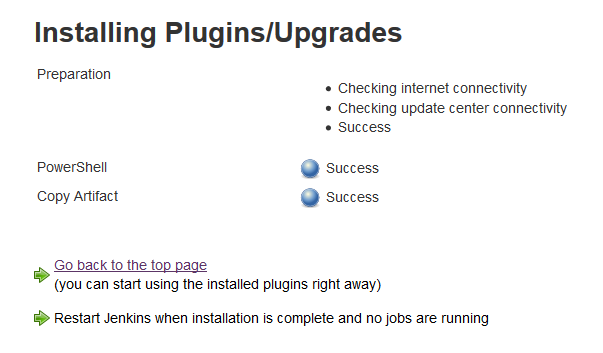
Install the Plugins
In this example we’re going to be using the wget command in Powershell. So this example is very Windows centric. Keep in mind though that we’re using the ‘wget’ Powershell command as it should make it easy to create this on a Unix based system too. Wget of course is more a unix utility than windows Powershell utility. In fact in Powershell wget is just an alias for ‘Invoke-WebRequest’.

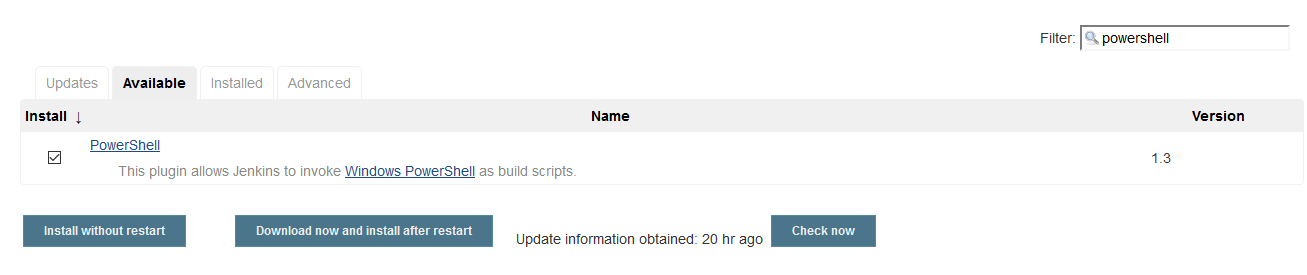
Anyway, that aside we’re going to build this example in windows and run the ‘wget’ command from a Powershell script. So we need to install the Jenkins Powershell plugin. From your Jenkins Manage Plugins page find the ‘Powershell’ plugin:
Or you can download the latest .hpi file using the link below and install it manually in your instance of Jenkins

Initial step then is to create our new job and call it something. We might start out with a job name of ‘Check-AUT-Version‘ (where AUT stands for Application Under Test). Create the job by clicking on the New Item link, enter the job name and select Freestyle project.
First off when defining the settings for this job we’re going to set the ‘Build Triggers’ as “Build Periodically”. What we want is this Jenkins job to check for changes in the AUT version on a periodic basis. So we configure the job to run on a regular basis to make this check by using the ‘Build Periodically’ option.
So check the ‘Build Periodically’ box and you should be presented with a text box that expects a cron format schedule.
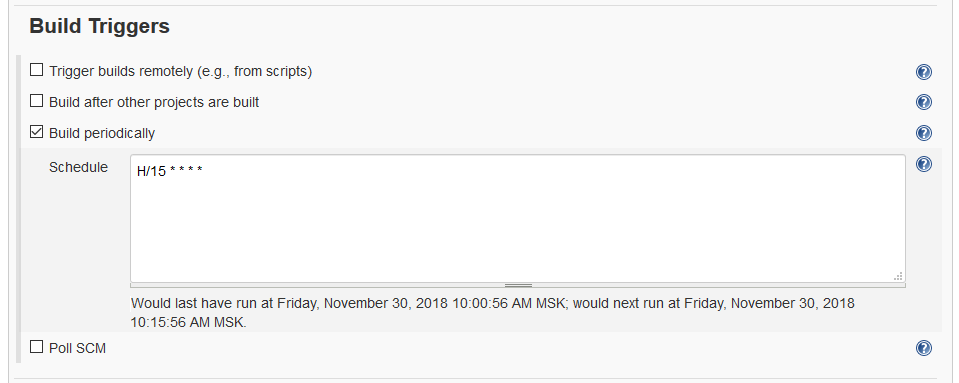
Add a cron format date/time value like this…
H/15 * * * *
Which means run this job every 15 minutes. If you’re new to cron format dates/times and schedules then you’ll find more here…
https://en.wikipedia.org/wiki/Cron
The nice thing about specifying this schedule in Jekins is that when you tab or click away from the field it presents some examples of the scheulde you’ve just defined. For example if you specify ‘H/15 * * * *‘ you’ll see this at the bottom of the text box.
If you get it wrong and need more help defining your schedule in cron format then we’ve found the https://crontab.guru/ website very helpful.
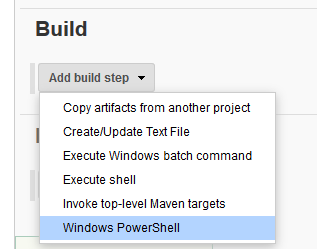
Anyway, once you’ve defined your schedule we want to define a ‘build step. So click on the ‘Add build step‘ button and from the drop down you should be able to select the ‘Windows Powershell‘ option.
In the command text box we we can now specify the ‘wget’ command (it calls ‘Invoke-WebRequest’ in Windows Powershell) that will go and fetch the version number of the web site (we’re using a website rather that a desktop or web application in this instance) we’re using as our AUT.
In this example we’re going to use the https://stackoverflow.com/ web site. We’re using this site because quite smartly they have a version number at the bottom of the page.
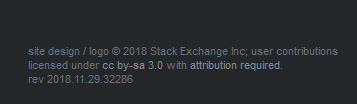
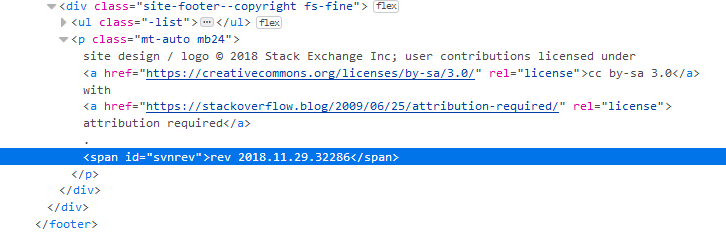
What we need to do with our Powershell ‘wget’ command is pull back the pages Html content and find the version number in amongst all that html. When we look at the html for this part of the page we see we have something like this…
We’re going to need to call the wget command and then use some good old regular expressions to find the number within this span tag. Things we have to go on, which should be pretty static and shouldn’t change, are…
id=”svnrev”rev

If we can identify those two strings and then find the subsequent string that conforms to what looks like a date (e.g. “2018.11.20″) and incremental number (e.g. “32226″) then we should be in business.
We may use a “sandox” for regular expression debugging: https://regex101.com/
A piece of useful documentation can be found here: https://kevinmarquette.github.io/2017-07-31-Powershell-regex-regular-expression/
So, regular expression that will parse date and release version may looks like:
rev d{4}.d+.d+.(d+)
Being able to extract the version number with regex, we now able to create a Powershell script that compares the current value with the previous one.
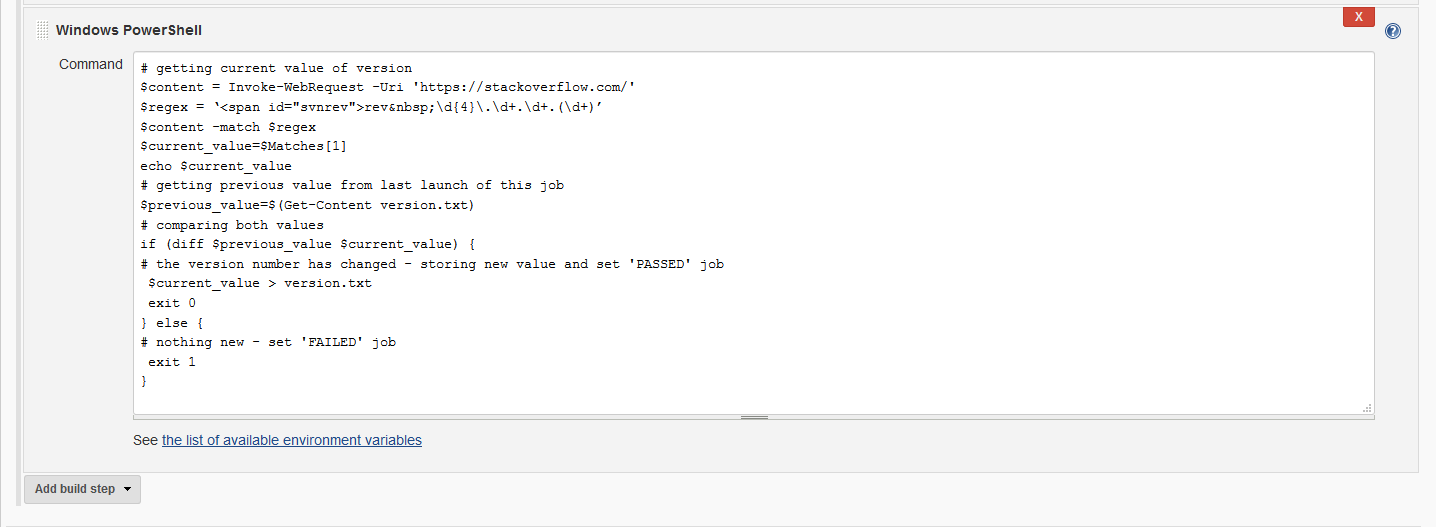
resulting Powershell script, which you need to copy into build step looks following:
# getting current value of version
$content = Invoke-WebRequest -Uri ‘https://stackoverflow.com/’ -UseBasicParsing
$regex = ‘rev d{4}.d+.d+.(d+)’
$content -match $regex
$current_value=$Matches[1]
echo $current_value
# getting previous value from last launch of this job
$previous_value=$(Get-Content version.txt)
echo “Current version: $current_value”
echo “Previous version: $previous_value”
# comparing both values
if (diff $previous_value $current_value) {
# the version number has changed – storing new value and set ‘PASSED’ job
echo “Version number has changed (Jenkins Job marked as Success)”
$current_value > version.txt
exit 0
} else {
# nothing new – set ‘FAILED’ job
echo “Version number has not changed (Jenkins Job marked as Failed)”
exit 1
}
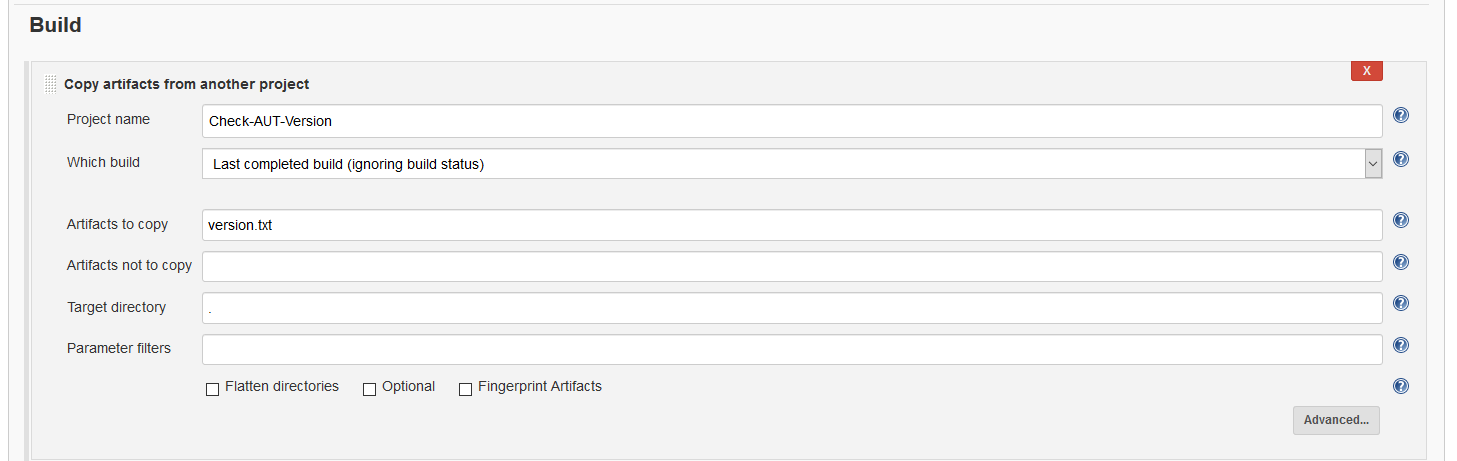

Previous value may be obtained from the artifact of last launch of our job using ‘Archive Artifact’ post build step, and ‘Copying artifacts from another build’ build step, accordingly.
We decided use text file version.txt to store the version number and we should update the version.txt file every time when value has changed.
And, the last but not least, we need to mimic the version value for the very first launch, otherwise the job will be unable to get artifact. In order to do this, launch a job (it should fail) and then create empty file version.txt on following path:
c:{your jenkins folder}jobsCheck-AUT-Versionbuilds1archive you may need to create ‘archive‘ folder if it isn’t exists
Now you can launch the job and … wait till the version of “Stack Overflow” increment, sooner or later.
In order to add any useful payload to this job, we may use it as trigger for other job or just add a build step after the aforementioned shell script